 |
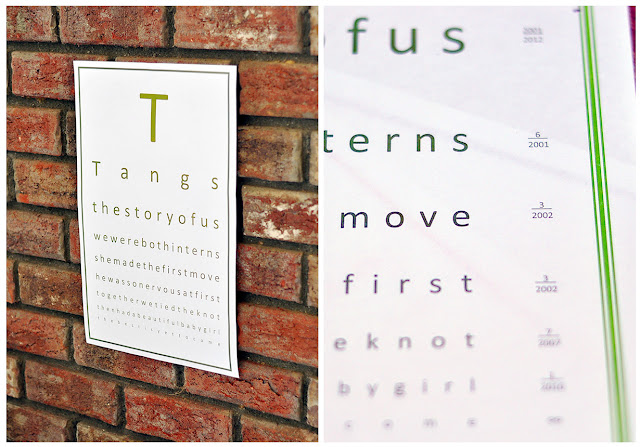
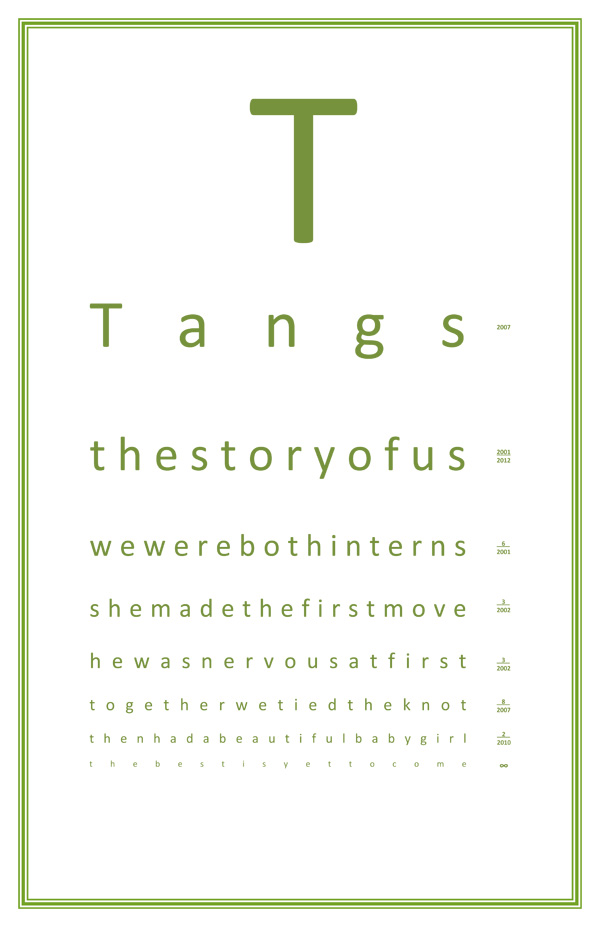
| The first version I made didn't have dates on it, but I decided it was cuter with dates. I made them look like the 20/20 distance numbers on a real eyechart. |
 |
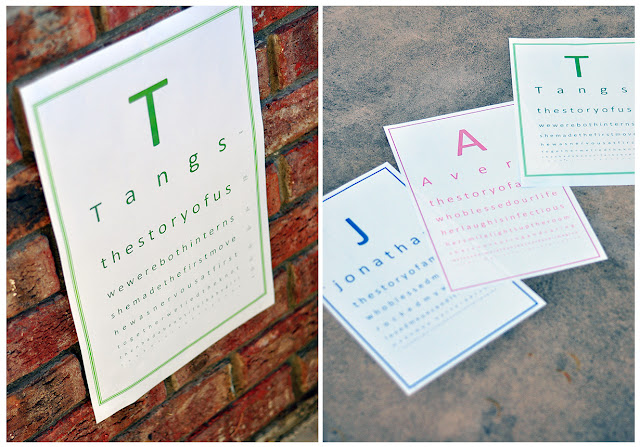
| My other creations for my hubby and daughter. |
8.5x11
11x17
I uploaded it into google docs, but the formatting does not show up correctly through google docs. You have to download the file and open it in Microsoft Word.
Update: A reader asked me how to update the border color. In Microsoft Word 2003, to to Format->Borders and Shading -> Page Border Tab You can remove the border or update the color or change the border style. Another option is to copy and paste the text of the document into a new document.
Update2: If any of your lines is too long, you will have to change the font size down until the lines fit. You then would have to change all of the subsequent font sizes down to make it look consistent. Remember to use spare bar instead of enter and keep hitting space bar until the next sentence falls onto another line. You could also expand the margins to make the whole line fit. Another method in Microsoft Word is to force a justify by hitting shift+crtl+J.
A few things to note if you use these templates.
1. To get the justify correct on each line, do not use "enter"/newline/carriage return, just keep hitting space bar until the line drops down.
2. The very last line has an "x" in white text. That is there to get the paragraph justify correctly. If you change the color of the text and select all, remember to change the x back to white.
3. All the dates on the side have an "x" next to them (again in white text). This is so I could get the underline to go all the way across. Again, if you change the text color, be sure to change those x's to white or else you're gonna have dates with x's in them.
Hope you guys have fun with this. I surely did!


